Prototype
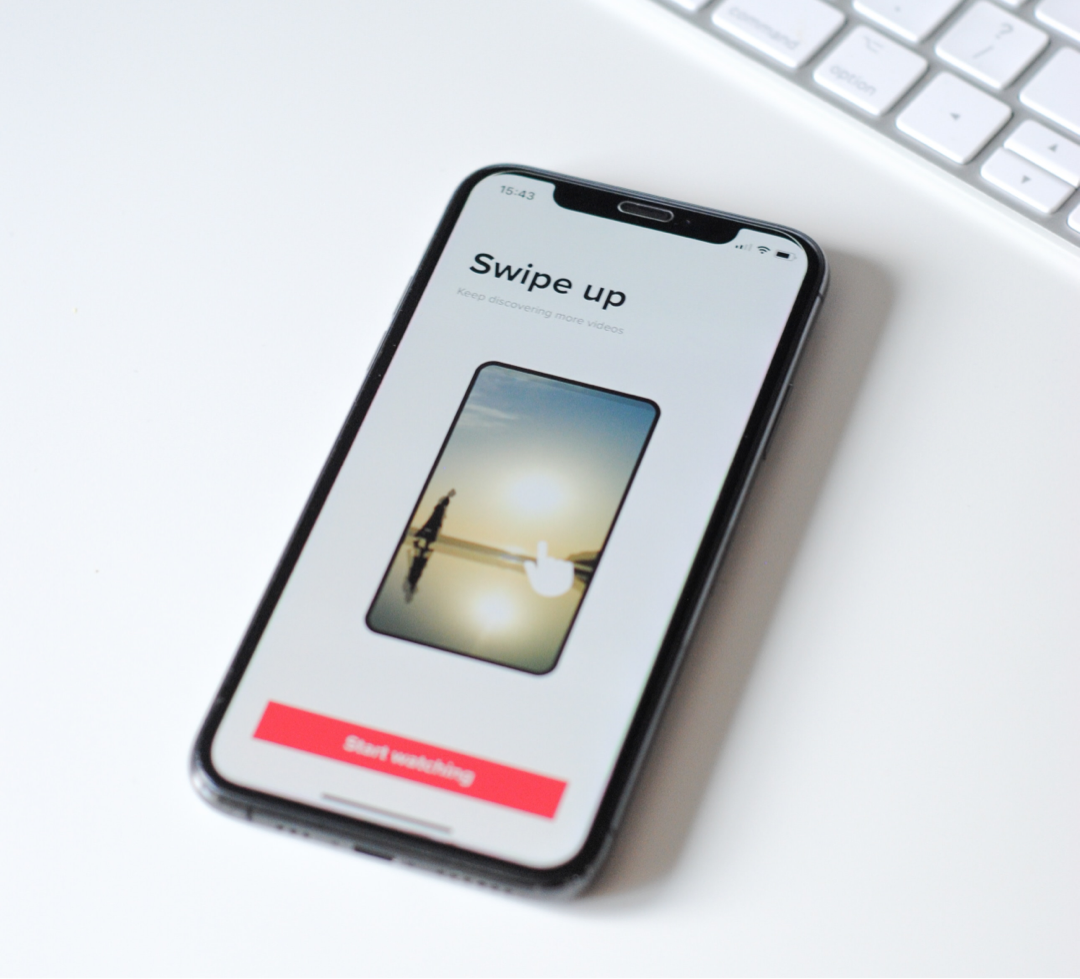
With prototypes, you can simulate real-world scenarios, identify potential issues, and get a sense of how users will interact with your product
What is a prototype?
A prototype is a ‘simulation’ of a final product, function or feature which can be used for testing before launching a product. The goal of a prototype is to test and validate ideas before presenting the final designs to stakeholders or handing off to developers.
What is the purpose of a prototype?
Prototyping in UX is a game-changer for anyone involved in the design and development process. It allows you to test your ideas, gather user feedback, and make necessary changes before launching your product. With the ability to quickly create and test multiple iterations, prototyping saves time, reduces costs, and ultimately leads to a better user experience.
At its core, prototyping is about finding the right solution for your users. By creating prototypes, you can simulate real-world scenarios, identify potential issues, and get a sense of how users will interact with your product. This insight is invaluable, as it helps you make informed decisions about what to build and how to build it.
Whether you’re a designer, developer, or product manager, prototyping is an essential tool in your UX toolkit. Our prototyping tools and services are designed to help you create and test your ideas quickly and efficiently. So why wait? Start prototyping today and take your UX design process to the next level.
How to create a prototype?
Creating a prototype in UX (User Experience) involves creating a rough, preliminary version of a digital product or service that allows designers and developers to test and refine ideas before investing significant time and resources in full-scale development. Here are the steps to create a prototype in UX:
- Define your goals: Determine what you want to accomplish with your prototype. What are the user needs you’re trying to meet? What features and functionalities are you planning to test?
- Identify your target audience: Define the target users for your product and consider their needs, interests, and behaviors. You can create personas to help you understand your users better.
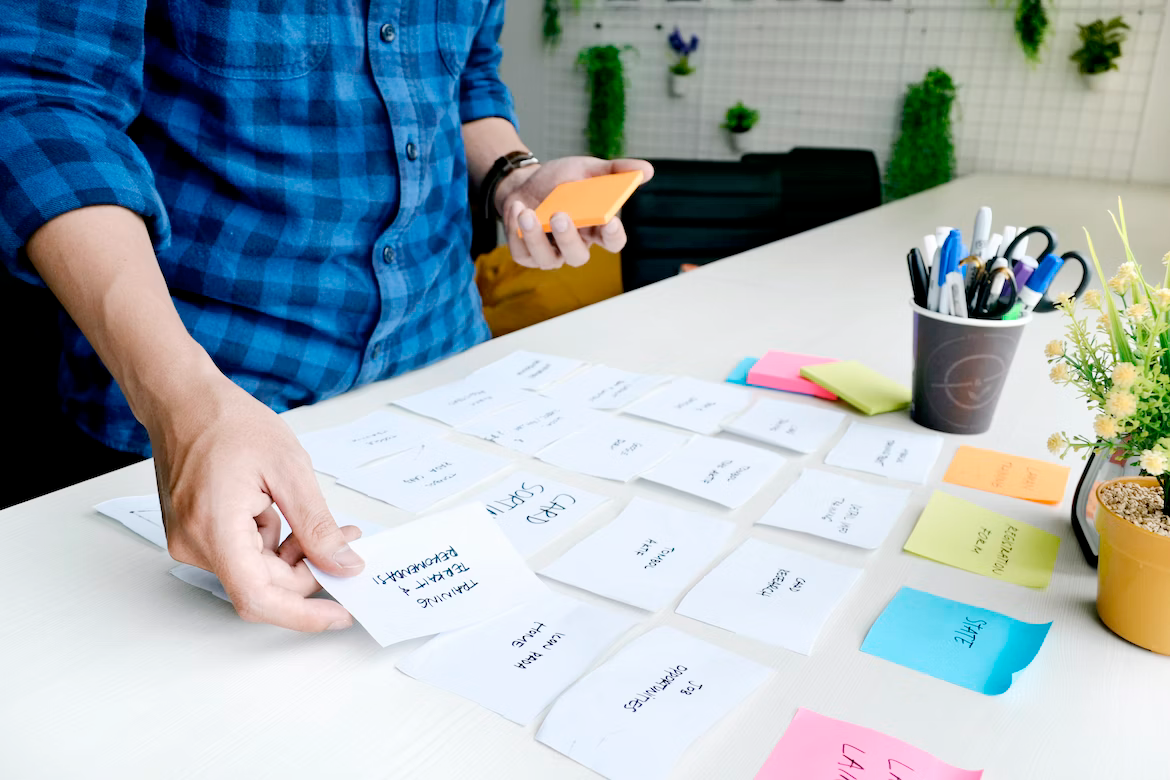
- Sketch and wireframe: Create rough sketches and wireframes to explore the basic layout and functionality of your product. You can use pen and paper, or digital tools like Sketch, Adobe XD, or Figma.
- Create a low-fidelity prototype: Use your sketches and wireframes to create a basic prototype that demonstrates the flow and functionality of your product. Use a prototyping tool like InVision or Marvel to create interactive screens and link them together.
- Test and iterate: Once you have a low-fidelity prototype, test it with users and gather feedback. Use this feedback to refine and improve your design. Iterate and test again until you feel confident in your design.
- Create a high-fidelity prototype: Once you’ve refined your design, create a high-fidelity prototype that closely resembles the final product. Use a design tool like Sketch or Adobe XD to create detailed designs and add animations and interactions.
- Test and validate: Test your high-fidelity prototype with users to ensure that it meets their needs and works as intended. Make any necessary changes based on feedback.
- Finalize and launch: Once you’ve completed your testing and validation, finalize your design and launch your product.
Remember that prototyping is an iterative process, and you should be open to making changes and adjustments as you go. By following these steps, you can create a successful prototype that leads to a great user experience.
Notes:
- Low-fidelity prototypes are recommended for early stages of product development
- High-fidelity prototypes are more suitable for late-stage product development
- Prototypes can be used to test specific features so do not always spend time making fully functioning prototypes when necessary


